




How to make a cold room for food storage?
 Sep 25, 2025|
 View:995
Building a cold room is a significant project that requires careful planning and execution. This guide will walk you through the process, from initial design to final operation.
Phase 1: Planning and Design
Success begins long before you pick up a hammer. Rushing this phase leads to inefficiency and spoilage.
1. Define Your Purpose and Requirements:
What will you store? The ideal conditions vary:
Root Vegetables (potatoes, carrots, beets): Prefer temperatures just above freezing (32-40°F / 0-4°C) and very high humidity (90-95%).
Fruits (apples, pears): Require cooler temperatures (32-40°F / 0-4°C) but with moderate humidity. Crucially, many fruits emit ethylene gas, which can cause vegetables to spoil faster, so separate storage may be necessary.
Canned Goods/Dry Goods: Prefer cooler, dark conditions (50-60°F / 10-15°C) with low humidity.
Meat: Requires temperatures at or below 32°F (0°C).
Your cold room's design will be a compromise based on your primary storage goals. A traditional root cellar setup (32-40°F / 0-4°C) is the most common.
2. Choose the Location:
The location is the most critical factor in achieving passive cooling.
Basement Corner (Best Option): This is ideal for most homeowners. An unused north or east-facing corner of a basement leverages the naturally cooler earth on the other side of the foundation walls. It’s easily accessible and protected from the elements.
Underground (Exterior Root Cellar): This is the classic approach, digging a hole and constructing a chamber entirely underground. It provides superb temperature stability but requires extensive excavation, waterproofing, and a safe entrance. It's the most labor-intensive option.
Under a Porch or Shaded Hillside: These can be good compromises, using the natural insulation of the earth.
3. Calculate the Size:
Estimate your storage volume and add a 25-50% margin for future needs. A typical family might need a room between 4'x6' (24 sq ft) and 8'x10' (80 sq ft). Remember, you need space not just for shelves, but to walk in and access the food.
Phase 2: Construction and Insulation
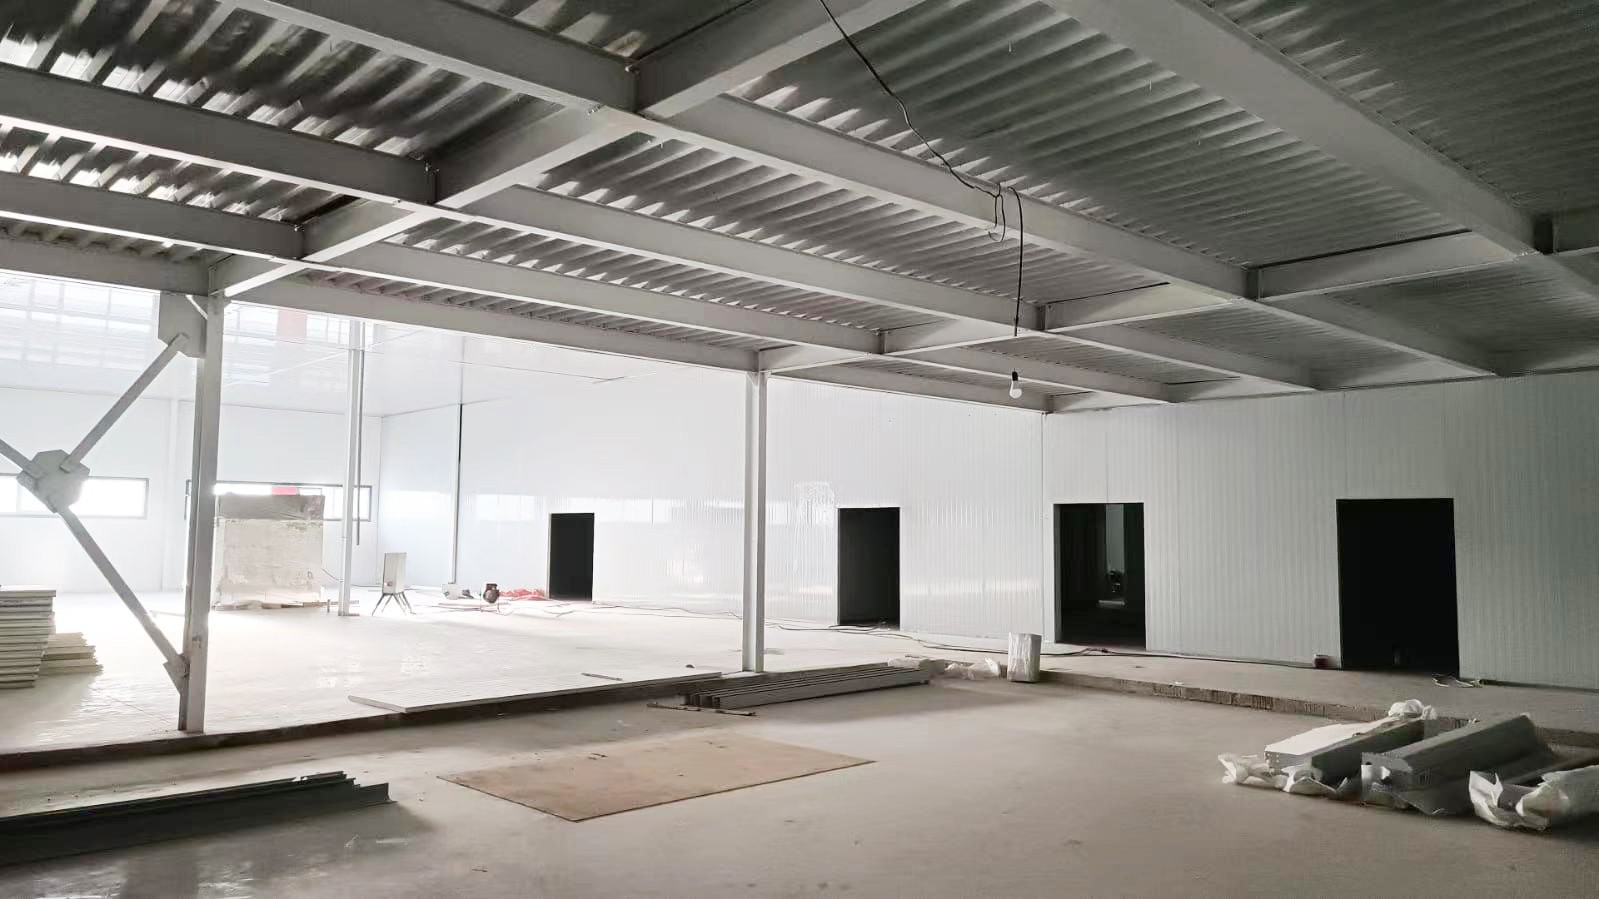
The goal is to create a tightly sealed, highly insulated envelope that is protected from external heat and moisture.
1. Framing the Walls:
If building within a basement, you will frame new walls to create the room. Use standard 2x4 or 2x6 lumber. The deeper the stud wall, the more insulation you can add. Anchor the bottom plate to the concrete floor with concrete anchors and the top plate to the ceiling joists. Leave a gap between your new frame and the existing foundation wall to accommodate insulation and a vapor barrier.
2. The Critical Layer: Insulation
Insulation is what keeps the cool in and the heat out. Never use fiberglass batt insulation in a cold room. It is ineffective when damp and will hold moisture, leading to mold and rot. The best options are:
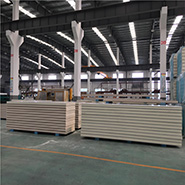
Rigid Foam Board Insulation (XPS or EPS): This is the gold standard. Extruded Polystyrene (XPS) - often pink or blue - has a high R-value (insulating power) per inch and is highly resistant to moisture. Expanded Polystyrene (EPS) is the white beadboard, which is less expensive but has a lower R-value and is more permeable. Aim for at least an R-20 value for walls in a basement. For an exterior underground cellar, you may need R-30 or more on the ceiling.
Spray Foam Insulation (Closed-cell): This is an excellent option as it provides a high R-value, creates a seamless air and vapor barrier, and is impervious to water. It is more expensive but offers superior performance.
Installation: Insulate every surface: the walls, the ceiling (most heat enters from above), and especially the door. For framed walls, cut the rigid foam boards to fit snugly between the studs, and then apply a second continuous layer over the studs themselves to prevent "thermal bridging" (where heat conducts through the wood). Seal all seams with specialized foil tape or spray foam.
3. Vapor Barrier and Air Sealing:
This step is non-negotiable. Warm, moist air from your house will try to enter the cold room. When it hits the cool surfaces inside, the moisture will condense, causing puddles, mold, and rot.
The vapor barrier must be on the warm side of the insulation—that is, the side facing the rest of your house.
Use a robust 6-mil polyethylene sheeting. Staple it securely over the insulated studs, overlapping seams by at least 12 inches and sealing them with acoustic sealant or special tape. The barrier must be continuous.
4. The Door:
The door is the weakest link. An ordinary interior door is insufficient.
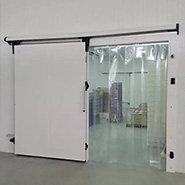
Use a solid core exterior door or a dedicated, insulated walk-in cooler door.
Insulate the door with at least 2 inches of rigid foam board.
Seal it meticulously with weatherstripping (like rubber gaskets or magnetic seals) around all four sides. A tight seal prevents cold air leakage and frost buildup.
5. Ventilation: A Delicate Balance
A passive cold room needs a way to breathe. Ventilation serves two purposes:
Temperature Control: In the fall and spring, you can let cooler night air in to chill the room.
Gas Exchange: It allows for the release of ethylene gas produced by ripening fruit.
A simple two-vent system works best:
Intake Vent: Place a 3-4 inch diameter PVC pipe low on the wall that leads to the outside (or into a cool crawlspace).
Exhaust Vent: Place a second pipe high on the opposite wall, also leading outside. Warm, moist air rises and will exit through this vent.
Equip both vents with dampers so you can tightly seal them during very hot or very cold weather. Cover the external ends with mesh to keep pests out.
Phase 3: Refrigeration (Optional but Highly Effective)
For true temperature stability, especially in warmer climates or if you need near-freezing temperatures for meat, a mechanical refrigeration unit is necessary.
Important: Do not use a standard window air conditioner or household refrigerator unit. They are not designed for the high humidity and low temperatures of a cold room and will quickly fail.
Your options are:
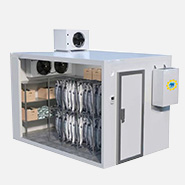
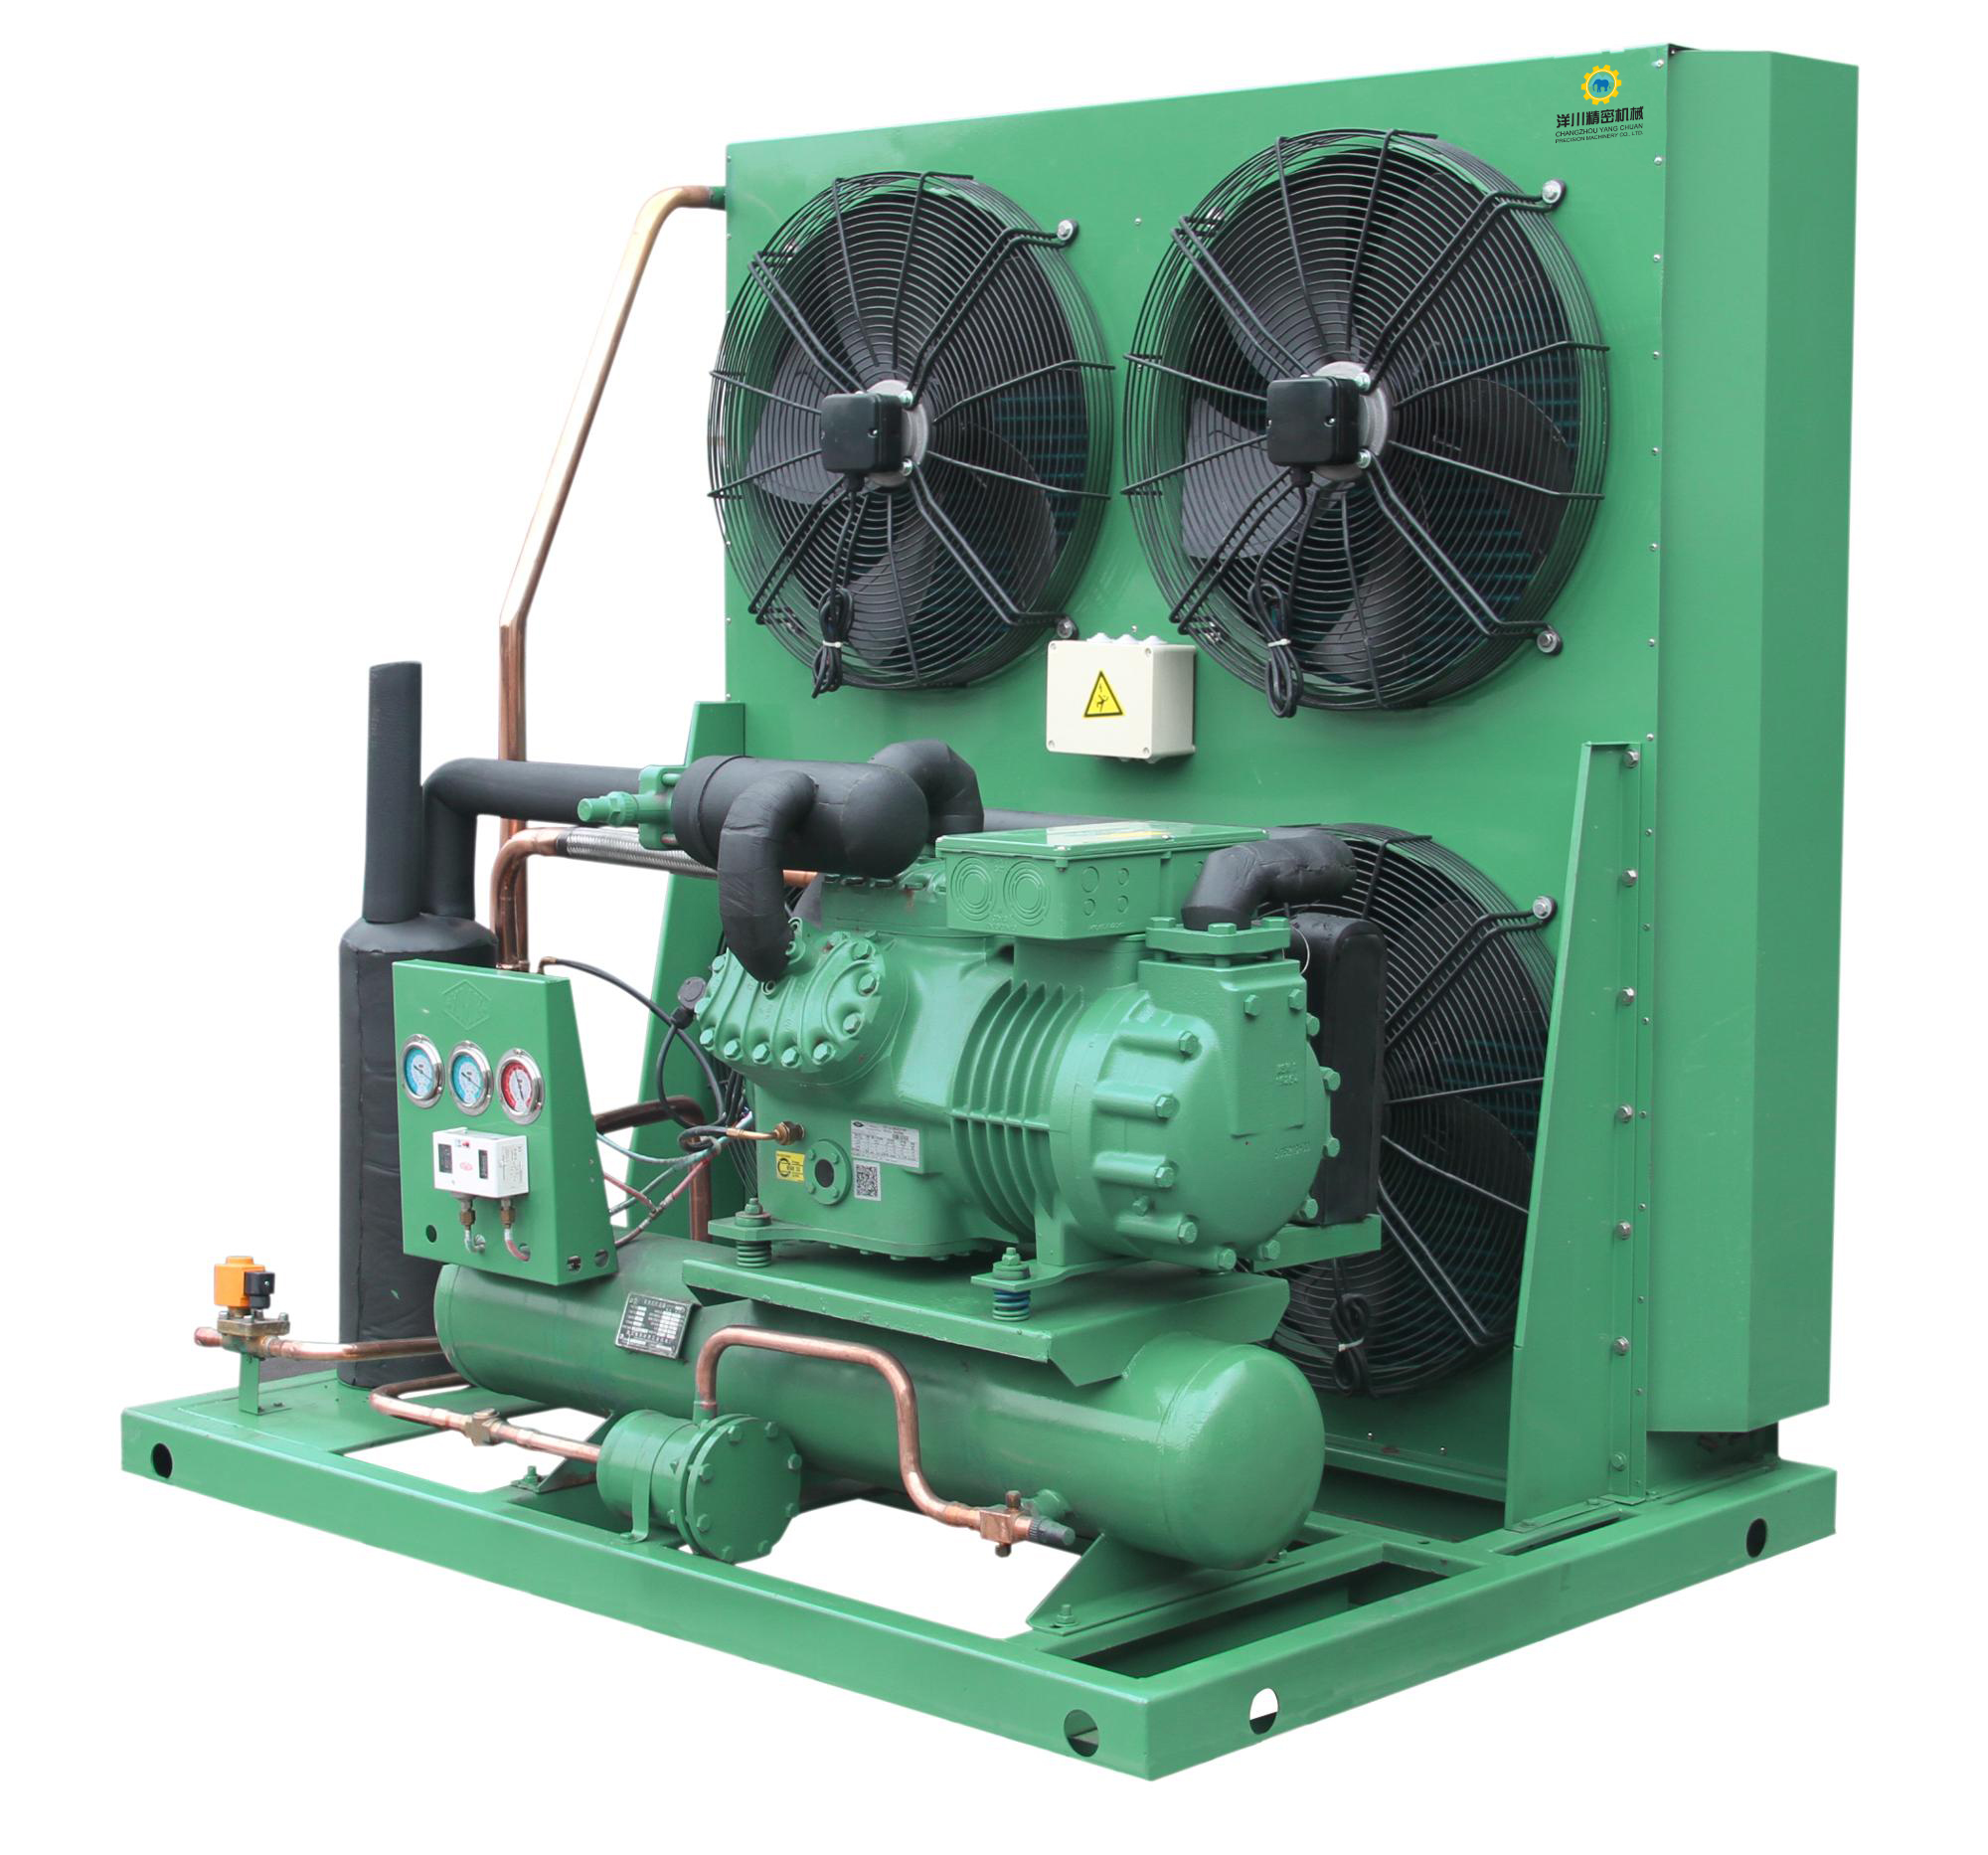
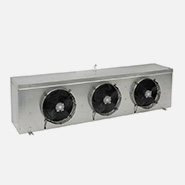
Dedicated Walk-in Cooler Unit: These are commercial-grade systems designed precisely for this application. They are powerful, reliable, and have defrost cycles suitable for humid environments. They are, however, the most expensive option.
DIY Conversion with a "Cool Bot": A Cool Bot is a device that tricks a standard, energy-efficient window AC unit into operating at much lower temperatures (as low as 34°F / 1°C). This is a very popular and cost-effective solution for hobbyists. The AC unit must be installed through the wall, not in a window, within the cold room.
Cold Plate System: This is a simpler, less powerful option where metal plates inside the room are cooled by a external refrigeration unit via circulating coolant.
Phase 4: Interior Finishing and Storage
Walls: Cover the insulated and vapor-barriered walls with a durable, easy-to-clean material. Plywood is common, but FRP (Fiberglass Reinforced Plastic) panels, used in commercial kitchens, are ideal as they are waterproof and mold-resistant.
Flooring: A concrete slab is perfect. If building on a dirt floor, you must pour a concrete slab to control moisture and pests.
Shelving: Do not use wood, as it can rot and hold odors. Use plastic shelving, metal wire shelves, or food-grade plastic bins. Allow for air circulation around your produce. Store root vegetables in breathable bins filled with slightly damp sand or sawdust to prevent wilting.
Phase 5: Operation and Safety
Hygrometer and Thermometer: Install a digital hygrometer/thermometer inside the room so you can monitor conditions at a glance. This is your most important management tool.
Safety: The door must be able to open from the inside without a key to prevent accidental lock-ins. Install a light switch outside the door. Consider a simple door alarm if children are present.
Maintenance: Regularly check for mold, clean spills immediately, and inspect your produce for spoilage to prevent one bad apple from spoiling the bunch.
Building a cold room is a rewarding project that pays for itself in reduced food waste and greater independence. By meticulously planning the location, constructing a super-insulated and vapor-tight envelope, and understanding the principles of ventilation and refrigeration, you can create a food storage system that will serve your family for generations. The key is patience and attention to detail—especially regarding moisture control. With this guide, you are well-equipped to create a cornerstone of your own home's food preservation strategy.